How to Make Perfume at Home: A Beginner's Formulation Guide
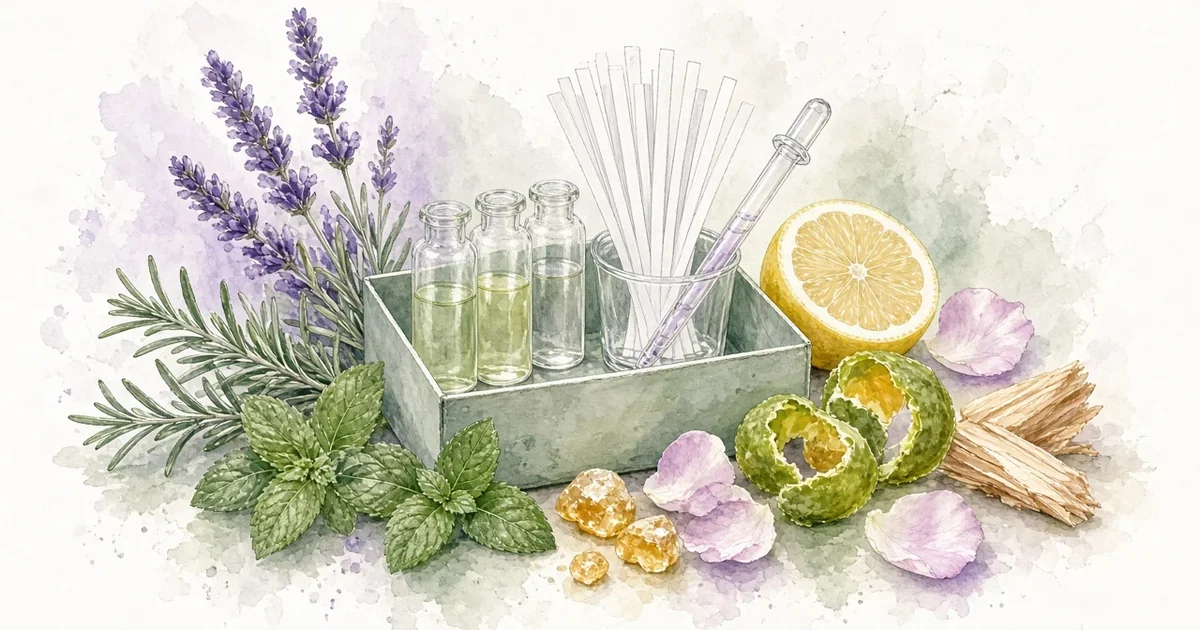
Most people who want to learn how to make perfume start the same way: a few essential oils, a dropper, a bottle of something alcoholic and a lot of hope. The result usually smells fine for ten minutes and then disappears, or turns into something nobody can repeat because nobody wrote it down.
Making perfume at home doesn't have to work like that. With a small scale, a handful of well-chosen materials and a simple method, you can work the way professional perfumers do from your very first trial. This guide walks you through that method step by step: what to buy, how to write and weigh a formula, how to dilute and macerate it, and how to evaluate it so that every version teaches you something.
What You Need to Make Perfume at Home
You don't need a laboratory, but you do need a few tools that make the difference between guessing and formulating.
Equipment
A precision scale. This is the single most important purchase. A jewellery-style scale that reads to 0.01 g lets you weigh small trials accurately. Check its specification sheet for the minimum weight it reads reliably.
Small glass bottles and vials. Clear or amber glass with tight caps, for trials, dilutions and finished samples.
Disposable pipettes. One per material, so you never contaminate a bottle.
Smelling strips (blotters). Paper strips for evaluating materials and trials without putting them on skin.
Labels and a notebook or software. Every bottle you fill needs a label, and every trial needs a written record.
Gloves and a well-ventilated space. Many fragrance materials are irritating when neat, so protect your skin and eyes.
Materials
Perfumer's alcohol. A high-strength ethanol made for fragrance, sold by perfumery suppliers. Avoid rubbing alcohol, which has its own strong smell, and avoid adding water, which can cloud a perfume.
A small set of fragrance materials. Essential oils, absolutes, aroma chemicals or ready-made bases from a reputable supplier that provides safety documentation for each one.
A solvent for dilutions. Perfumer's alcohol works for most beginner dilutions. DPG (dipropylene glycol) is a common nearly odourless alternative for stock solutions.
Step 1: Choose a Small Palette of Materials
The fastest way to learn is to start small. Three to six materials is plenty for a first perfume, ideally covering the three layers of a fragrance:
Top notes: the bright, fast-evaporating opening, such as citrus oils like bergamot or lemon.
Heart notes: the core character that appears after the opening fades, such as florals, spices or herbs.
Base notes: the slow, long-lasting foundation, such as woods, musks, resins and vanilla-type materials.
Before you mix anything, smell each material on its own blotter and write down what you notice at the start, after an hour and the next day. This habit teaches you how each ingredient behaves over time, which matters more than any recipe.
Always check that each material is meant for skin use and note its usage limits from the supplier's documentation. Candle fragrance oils, for example, are not formulated for skin.
Step 2: Write Your Formula in Percentages
A perfume formula is a list of materials and how much of each goes into the blend. Writing it as percentages that add up to 100% (or as parts out of 1,000 once you get more precise) has two big advantages:
You can understand the role of each material at a glance.
You can scale the formula to any batch size without changing its balance.
A simple starting structure for a beginner concentrate might look like this:
Base notes: around 30 to 40% of the concentrate
Heart notes: around 40 to 50%
Top notes: around 15 to 20%
Treat those numbers as a starting point, not a rule. Powerful materials may need far less, and many classic perfumes break this structure completely. What matters is that you write down exactly what you did, so you can change one thing at a time.
Step 3: Pre-Dilute Strong Materials
Many fragrance materials are too strong to evaluate or weigh neat in small trials. Perfumers keep them as dilutions, usually at 10% or 1%, so they can weigh larger, more accurate amounts.
A 10% dilution means 1 g of material made up to a total of 10 g with solvent (1 g of material plus 9 g of solvent), not 1 g of material plus 10 g of solvent. Our guide to perfume dilution explains the full calculation, how to step down from a stock solution and how to count diluted materials correctly inside a formula.
Step 4: Weigh Your Trial, Not Drops
Here is where home perfumery usually goes wrong. Drops vary with the material's thickness, the dropper, the angle and the temperature, so a formula written in drops can't be repeated reliably. Weigh everything in grams.
To turn your percentage formula into a trial, multiply each percentage by the total weight you want. For a 10 g concentrate:
A material at 35% becomes 3.5 g
A material at 12.5% becomes 1.25 g
A material at 2% becomes 0.2 g
Place a labelled vial on the scale, tare it and add each material in turn, noting the actual weight you added. If you overshoot, write down the real figure rather than pretending you hit the target. That honest record is what lets you understand why version 3 smells better than version 2.
Step 5: Evaluate, Adjust and Version
Give the concentrate a gentle swirl, dip a blotter and smell it at intervals: straight away, after 15 minutes, after an hour and the next day. The opening is dominated by top notes; the character of the heart and base only shows up later.
Then make one change at a time. If the blend smells sharp and thin, try increasing a base material. If it feels heavy or flat, a little more of a top note may lift it. Make a new version, weigh it, label it and compare it side by side with the previous one on fresh blotters.
Keeping versions separate is essential. When you overwrite your only formula with a change, you lose the ability to go back. Perfumers often run many versions of a single idea before they are happy, so set up your record-keeping to handle that from day one.
Step 6: Dilute the Concentrate in Alcohol
When you like your concentrate, dilute it in perfumer's alcohol to its final strength. The concentration of fragrance in the finished product changes how strong and how long-lasting it feels. Many beginner guides suggest around 15 to 20% concentrate in alcohol as a starting point for an eau de parfum-style strength, with lighter styles using less.
For example, to make 50 g of perfume at 18% concentration:
Concentrate = 50 x 18 / 100 = 9 g
Perfumer's alcohol = 50 - 9 = 41 g
Weigh the concentrate into the bottle first, then add alcohol up to the total weight.
Step 7: Let It Macerate
Freshly mixed perfume often smells harsh, with the alcohol sticking out. Leaving it to rest, known as maceration, gives the blend time to become uniform and lets some of that sharpness settle.
Cap the bottle tightly and keep it somewhere cool and dark, away from sunlight and heat.
Many perfumers wait at least one to two weeks before judging a trial, and some wait longer.
Keep a small sample of the same trial in the fridge as a control, so you can compare and see what time actually changed.
Maceration helps a good formula settle, but it won't fix an unbalanced one. If the structure is wrong, go back to Step 5.
Step 8: Test on Skin Carefully
Blotters show you how a perfume develops, but skin is where it lives. Once a trial has macerated, apply a small amount to a patch of skin you can wash easily and follow it over several hours. Stop using any blend that causes redness, itching or any other reaction.
If you plan to share or sell your perfume, safety goes beyond a patch test. Each material has usage limits that depend on the type of product, and those limits are set out in the IFRA Standards. Our guide to IFRA standards for indie perfumers explains how they work and which product category a perfume falls into.
Common Beginner Mistakes to Avoid
Measuring in drops or millilitres instead of grams.
Changing several things at once, so you never know which change helped.
Not writing formulas down, or writing them on loose scraps of paper.
Judging a trial on the first sniff instead of following it through its drydown.
Using too many materials too soon. A small palette teaches you more.
Ignoring usage limits for materials that need them.
Skipping maceration and deciding too early that a formula failed.
Keep Your Formulas Organised From Day One
The method above produces a lot of data: materials, dilutions, versions, weights and evaluation notes. A spreadsheet can hold it for a while, but it gets messy once you have several formulas, each with multiple versions and diluted ingredients.
The ScentLabs formula creator is built for this workflow. You can track each ingredient's dilution and see its effective pure contribution, keep unlimited versions of a formula linked in a family tree, view your top, heart and base notes as an olfactive pyramid, and export formulas to PDF. When a trial is ready to make in a larger quantity, batch production scales the formula to any total weight while keeping the proportions exactly the same.
FAQ
What do I need to make perfume at home?
At minimum: a precision scale that reads to 0.01 g, small glass bottles, pipettes, smelling strips, perfumer's alcohol, a small set of skin-safe fragrance materials and a way to record your formulas. Gloves and good ventilation are strongly recommended.
Can I make perfume with essential oils only?
Yes. Many beginners start with essential oils and they can produce beautiful results. Bear in mind that essential oils are complex natural materials, many have usage limits for skin, and some citrus oils can cause skin reactions in sunlight, so always check your supplier's safety documentation.
How long should homemade perfume macerate?
Many perfumers let a new trial rest for at least one to two weeks in a cool, dark place before evaluating it properly. Some leave it longer. Keep a refrigerated control sample if you want to see what maceration actually changes.
What alcohol should I use to make perfume?
Use perfumer's alcohol, a high-strength ethanol sold by perfumery suppliers for this purpose. Avoid rubbing alcohol because of its smell, and don't add water, which can make the perfume cloudy.
How do I make my homemade perfume last longer?
Longevity mostly comes from the formula itself: a stronger base of slow-evaporating materials and a higher concentration of fragrance in the alcohol. Storing the bottle away from heat and light also helps keep it smelling as intended.
Start Your First Formula the Right Way
Learning how to make perfume is really learning a method: start with a small palette, write formulas in percentages, weigh in grams, change one thing at a time, let trials macerate and keep a record of everything. Follow that and every trial, even the ones that don't work, makes your next perfume better.
ScentLabs gives you a place to do all of that from your very first formula. The Free plan includes up to 25 materials and 10 formulas, which is more than enough for a beginner's palette. When you outgrow it, Pro is US$5.99 a month and Lifetime is a one-off US$49.99. Create your free ScentLabs account and start your first formula today.